Take ownership of a system file
In this article I will show you how you can get the ownership of a system file.A system file is usually a file with .dll extension.And by 'taking ownership', I mean that you get all permission for that file.

 6) A new window will open, click on Owner tab.
7) Then click on Edit button.
 8) A new window will open listing list of all users available.Select the user you want to set as the owner.
9) Then click on OK button.
 10) Again click on OK.And come on the properties window.Click on OK.
11) Again open its properties.Go to Security tab Click on Edit button.
12) Click on Add button.Click on Advanced button.
13) Click on Find Now button.Find your user name in the list and then click OK button.
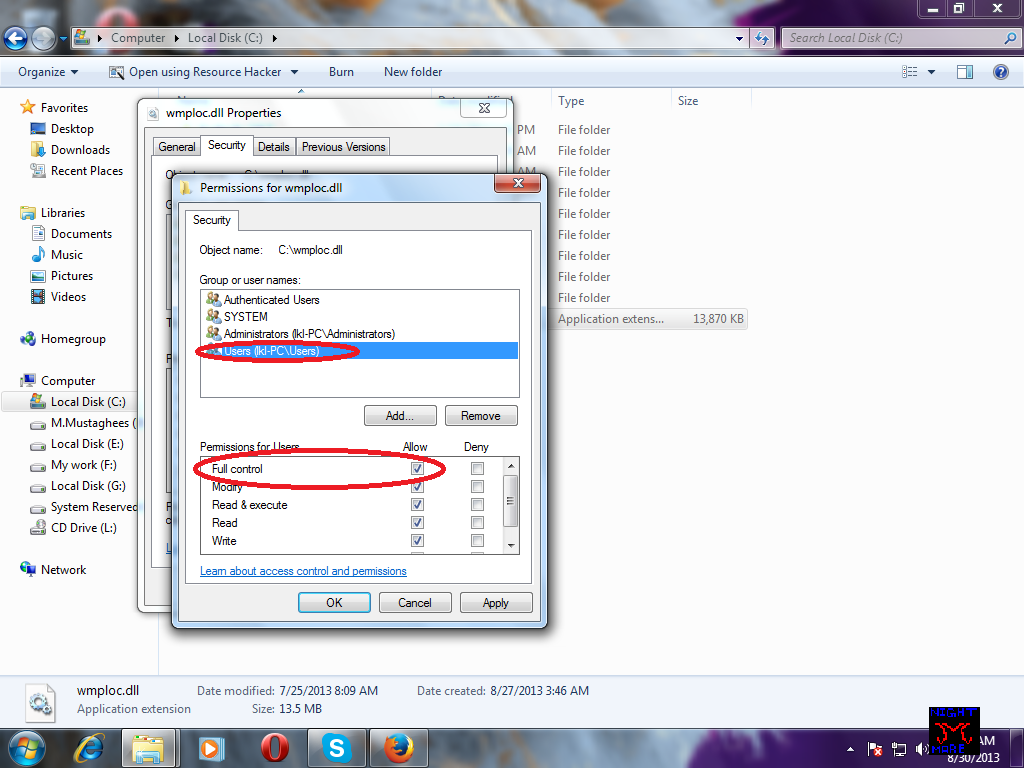
14) Get back to properties window.Select the new user (a new user name will appear i-e the one you added in last step).
15) Click on the check box next to Full control.Click on OK.
And its all done !. Hope you like it.
Procedure:
Manual method (for advanced users):
1) First locate the file you want to take ownership of.
2) Right click on it.
3) Click on Properties.
4) Click on Security tab .
5) Click on Advanced button.7) Then click on Edit button.
9) Then click on OK button.
11) Again open its properties.Go to Security tab Click on Edit button.
12) Click on Add button.Click on Advanced button.
13) Click on Find Now button.Find your user name in the list and then click OK button.
14) Get back to properties window.Select the new user (a new user name will appear i-e the one you added in last step).
15) Click on the check box next to Full control.Click on OK.
Automatic method ( for standard users ) :
1) For this easy method you just need to download a file.Download it now.
2) Extract it.
3) And then run InstallTakeownership.reg.
It will add the required registry values.Now you will see that, if you right-click on any file, a new option "Take ownership" is there.
4) By clicking on it you will become the owner of that file.
If Unable to replace
If you are unable to replace the file even after taking ownership of it, then the file might be in use with some other program.To replace, just move the original file to another location.
And then move your modified file to the original file's original location.
And its all done !. Hope you like it.
No comments:
Post a Comment